

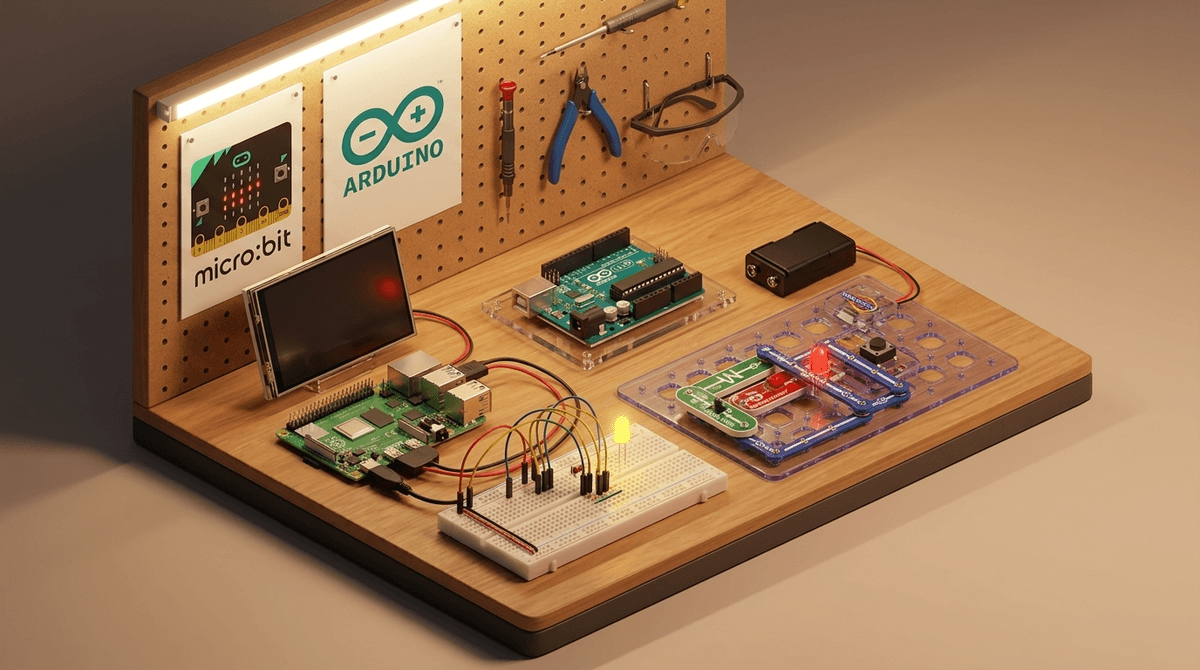
TL;DR: From Screen-Time to Build-Time
If you’re tired of your kid staring at a screen until they’re basically a sentient potato, DIY electronics is the ultimate "productive" pivot. It moves them from being passive consumers of tech to active creators.
- Best for Beginners (Ages 5-9): Snap Circuits — Zero risk of fire, maximum "I made a light turn on" dopamine.
- Best for Tweens (Ages 10-13): Micro:bit or Makey Makey — Blends coding with physical objects (like turning a banana into a space bar).
- Best for Teens (Ages 14+): Arduino or Raspberry Pi — Real-world components, soldering, and the power to build a literal robot.
- Safety Priority: Invest in a decent soldering iron with an auto-shutoff and a $20 fume extractor.
Think of DIY electronics as the "Lego" of the digital age, but with actual electricity. It’s a hobby where kids use components like resistors, LEDs, sensors, and microcontrollers to build gadgets. It ranges from simple kits that click together to complex projects involving Python coding and hot metal.
Instead of just playing Minecraft, they’re building the hardware that could run it. It’s the antidote to "brain rot" because it requires high-level troubleshooting and patience—two things that TikTok definitely doesn't teach.
We spend so much time worrying about what's on the screen that we forget the screen is just a box of sand and logic. When a kid understands how a circuit works, the "magic" of tech disappears and is replaced by agency. They realize that if something is broken, they might actually be able to fix it. In a world where everything is designed to be "un-repairable," teaching your kid to solder is a low-key act of rebellion.
Plus, it’s a massive bridge to entrepreneurship. The kid who builds a custom LED sign for their room today is the teen selling custom mechanical keyboards on Etsy tomorrow.
Find hobbies that build technical independence
This is the gold standard for a reason. The components "snap" together on a plastic grid. There are no loose wires to poke eyes and no hot tools.
- The Vibe: Pure exploration.
- The Risk: Almost zero. It runs on AA batteries. If they wire it wrong, the worst that happens is a light doesn't blink.
- Parent Win: It’s self-contained. No tiny resistors getting lost in the carpet for you to step on later.
The Micro:bit is a tiny pocket-sized computer. It’s arguably the best entry point into "real" electronics because it has built-in buttons and a display, but can be expanded with external sensors.
This is where things get serious. An Arduino is a microcontroller that requires "breadboarding" (pushing wires into a grid) and writing actual code.
- The Vibe: Real engineering.
- The Risk: Moderate. You’re dealing with loose components and potentially "shorting" a board (which just kills the board, it doesn't blow up the house).
- Parent Win: This is what they’ll use in college engineering courses. Getting a head start here is a huge leg up.
Unlike the Arduino, the Raspberry Pi is a full Linux computer the size of a credit card. Kids use these to build retro gaming consoles, home servers, or even AI cameras.
- The Vibe: "I built my own computer."
- The Logic: It requires a bit more "tech-savviness" to set up the OS.
- Parent Win: It’s a great way to let them have a "computer" that isn't connected to the main family network if you want to wall off their experimentation.
Let’s be real: DIY electronics involves electricity and heat. Here is the no-BS safety checklist.
1. The Soldering Iron Talk
Eventually, your kid will want to move beyond breadboards and permanently attach components. Soldering involves a pen-shaped tool that reaches 600°F-700°F.
- The Iron: Do NOT buy the $5 stick from the hardware store. They take forever to heat up and are prone to melting their own cords. Buy a "smart" iron like the Pinecil or a regulated station. They have auto-shutoff features that are literal lifesavers when your kid forgets to turn it off and goes to dinner.
- The Fumes: Solder contains flux which releases smoke. It’s not "poisonous" in small doses, but it’s an irritant. Get a cheap "fume extractor" (basically a fan with a carbon filter) or just do it near an open window.
- The Lead: Most modern hobbyist solder is lead-free, but check the label. If they use leaded solder (which is actually easier to work with), just make sure they wash their hands before eating that post-build sandwich.
2. Battery Safety (The Real Danger)
The most dangerous thing in a kid's electronics lab isn't the soldering iron; it's the Lithium Polymer (LiPo) battery. These are the flat, silver pouches that power drones and RC cars. If they are punctured or overcharged, they can turn into a literal blowtorch.
- The Rule: If your kid is under 14, stick to AA or AAA batteries. If they move to LiPos, they need a "LiPo Safe" charging bag and a lecture on why we don't poke the silver pouch with a screwdriver.
3. Eye Protection
Clipping the "legs" off a resistor sends a tiny piece of sharp wire flying across the room at Mach 1. Make them wear basic shop glasses. It’s a "cool scientist" vibe anyway.
DIY electronics is 90% troubleshooting. Something won't work because a wire is loose, or a semicolon is missing in the code, or a component is plugged in backward.
This is a feature, not a bug.
When your kid comes to you frustrated that their Raspberry Pi won't boot, don't fix it for them. Ask them, "What’s the last thing you changed?" This is the core of "technical independence." We want them to be the kind of people who look for a solution instead of just closing the app when things get hard.
If your kid is already deep into Roblox or Minecraft, frame DIY electronics as "Leveling Up."
- "You’re great at building in the game, do you want to see how the controller actually talks to the computer?"
- "What if we built a physical button that makes your character jump?" (This is easy with a Makey Makey).
DIY electronics is one of the few hobbies that justifies "screen time." It’s messy, it can be a little expensive if you get addicted to buying sensors from Adafruit, and yes, there might be a small burn or two along the way. But the payoff—a kid who understands the world around them and isn't afraid to take things apart—is worth every penny and every "Ohio" joke they'll inevitably make while doing it.
- Start Small: Order a Snap Circuits kit today.
- Watch Together: Check out Mark Rober on YouTube for inspiration on what "making" looks like at the pro level.
- Set Boundaries: Designate a specific "Maker Table" where it's okay to have wire scraps and tools out. This keeps the mess out of the kitchen.
Check out our guide on the best YouTube channels for young makers