

How to Set Up Parental Controls on iPad: A Step-by-Step Guide
Look, I get it. You hand your kid an iPad thinking "educational apps!" and "creative time!" and next thing you know they've somehow found a YouTube rabbit hole of unboxing videos, spent $47 on Robux, and are asking why Siri won't tell them how babies are made.
The good news? Apple's parental controls (officially called "Screen Time") are actually pretty robust once you know where to find them. The bad news? They're buried in settings like a treasure hunt designed by someone who doesn't have kids screaming "IT'S NOT WORKING" in the background.
Let me walk you through this.
Screen Time is Apple's built-in system for managing what kids can access, when they can use devices, and how much time they spend on different apps. It's not perfect, but it's free, it's integrated, and once you set it up, it actually works pretty well.
You can control:
- Total screen time limits (daily caps)
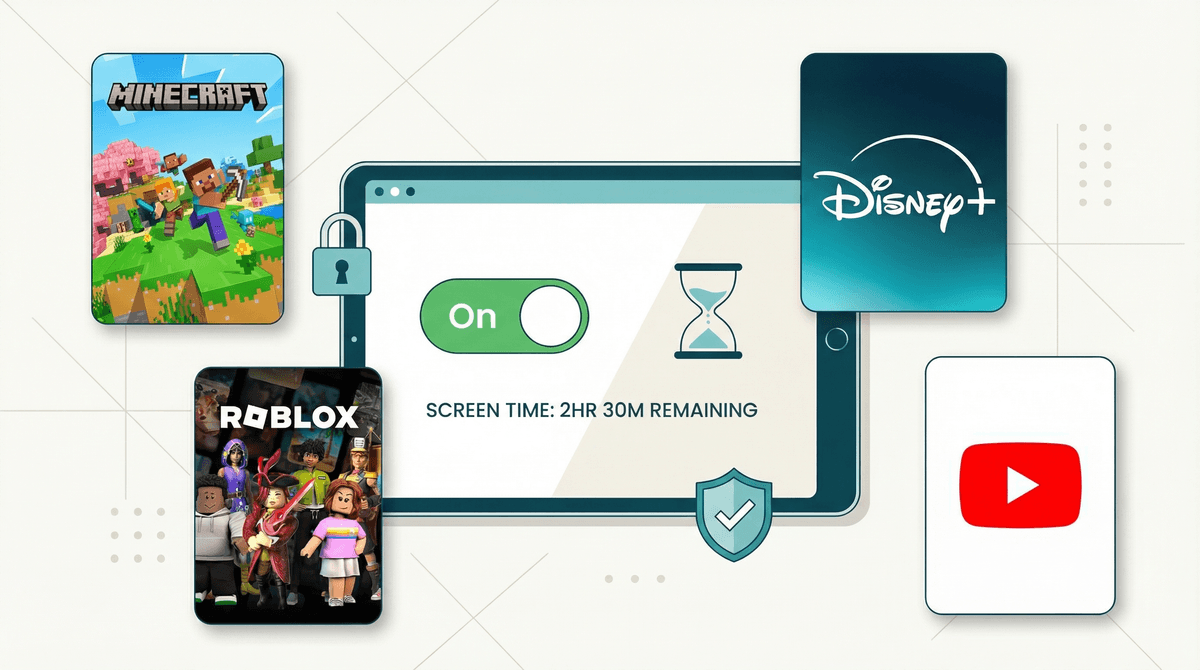
- App-specific time limits (hello, 30 minutes of Roblox instead of 3 hours)
- Content restrictions (blocking mature content, explicit music, etc.)
- App downloads and purchases (no more surprise charges)
- Communication limits (who can text/FaceTime your kid)
- Privacy settings (location sharing, contacts, photos)
Here's the thing: parental controls aren't about not trusting your kid. They're about creating boundaries in a digital world that's literally designed to be addictive and keep eyeballs glued to screens.
Kids' brains aren't fully developed when it comes to impulse control and delayed gratification. Expecting a 9-year-old to self-regulate their YouTube time is like expecting them to self-regulate Halloween candy. Sure, some kids can do it, but most are going to need guardrails.
Plus, the internet is genuinely weird and sometimes unsafe. Content filters aren't foolproof, but they're a decent first line of defense against your kid accidentally stumbling into something they can't unsee.
1. Open Settings and Find Screen Time
Open the Settings app (the gray gear icon). Scroll down until you see Screen Time — it's usually between "Focus" and "General."
Tap it. If this is your first time here, tap Turn On Screen Time.
2. Choose "This is My Child's iPad"
Apple will ask if this is your device or your child's. Choose "This is My Child's iPad" (or whatever device you're setting up). This enables the more robust parental controls and requires a separate passcode.
3. Set Up Downtime
Downtime is a scheduled block where only apps you approve (and phone calls) work. Think of it as digital bedtime.
- Tap Downtime
- Toggle it on
- Set your schedule (most parents do something like 8:30 PM to 7:00 AM on school nights)
- You can customize weekends separately
Pro tip: If your kid uses their iPad for reading before bed, make sure to add Kindle or Apple Books to the "Always Allowed" list (we'll get to that).
4. Set App Limits
This is where you cap time on specific categories or individual apps.
- Tap App Limits
- Tap Add Limit
- Choose a category (Games, Social Networking, Entertainment) or tap "All Apps & Categories" at the bottom to select specific apps
- Set your time limit
- Toggle "Block at End of Limit" ON (otherwise it just suggests they stop, which... lol)
Real talk: Most families do something like:
5. Set Communication Limits
Under Communication Limits, you can control who your kid can communicate with during screen time and downtime.
For younger kids (under 10), I'd recommend:
- During Screen Time: Contacts Only
- During Downtime: Specific Contacts (just family)
This prevents random people from contacting your kid through iMessage, FaceTime, or Game Center.
6. Always Allowed Apps
Tap Always Allowed to choose which apps work even during Downtime or when they've hit their limits.
Smart picks:
- Phone (if they have one)
- Messages (so they can reach you)
- Books/Kindle
- Educational apps they actually use for homework
- Music (if you're not worried about them staying up listening)
Don't add YouTube, games, or social media here. That defeats the entire purpose.
7. Content & Privacy Restrictions
This is the big one. Tap Content & Privacy Restrictions and toggle it ON.
Here's what to set up:
iTunes & App Store Purchases:
- Installing Apps: Don't Allow (or Require Approval)
- Deleting Apps: Don't Allow (so they can't delete Screen Time)
- In-App Purchases: Don't Allow (this is huge — those Robux charges add up
 )
)
Allowed Apps:
- Toggle OFF any apps you don't want them using at all (Safari, FaceTime, Camera, etc.)
Content Restrictions:
- Apps: Set age limit (4+, 9+, 12+, 17+)
- Movies: Set rating limit (G, PG, PG-13, etc.)
- TV Shows: Set rating limit (TV-Y, TV-Y7, TV-PG, etc.)
- Books: Consider "Clean" if you have younger kids
- Web Content: Choose "Limit Adult Websites" (blocks known adult sites but allows most web browsing) OR "Allowed Websites Only" for younger kids (you manually approve every site)
Siri:
- Web Search Content: Turn OFF (prevents bypassing web restrictions)
- Explicit Language: Turn OFF
Game Center:
- Multiplayer Games: Consider turning OFF for younger kids
- Adding Friends: Consider turning OFF
- Screen Recording: Consider turning OFF (prevents them recording and sharing gameplay)
8. Set a Screen Time Passcode
This is critical. Tap Use Screen Time Passcode and create a 4-digit code your kid doesn't know.
DO NOT use the same passcode as the device unlock code. And write it down somewhere, because if you forget it, you'll have to factory reset the iPad to remove Screen Time. (Ask me how I know.)
Apple will ask for your Apple ID as a backup recovery option. Do it.
Here's a common frustration: even with content restrictions on, kids can sometimes access stuff through Safari that you'd rather they didn't.
Options:
- Turn off Safari entirely in Content & Privacy Restrictions > Allowed Apps
- Use "Allowed Websites Only" mode and manually approve sites
- Keep "Limit Adult Websites" on but add specific sites to the "Never Allow" list
For younger kids (under 10), honestly? Just turn off Safari and only allow specific apps. They don't need open web browsing yet.
For older kids, "Limit Adult Websites" plus monitoring is probably the right balance. Learn more about managing web content for kids.
Use Family Sharing: If you set up Family Sharing through your Apple ID, you can manage your kid's Screen Time remotely from your own device. Game changer.
Review the weekly report: Every week, Screen Time sends you a report of usage. Actually look at it. You'll be surprised (and maybe horrified) by what they're spending time on.
Adjust as needed: These settings aren't set-it-and-forget-it. Your 7-year-old and your 13-year-old need different limits. Revisit every few months.
Talk to your kid about it: Don't just secretly lock everything down. Explain why you're setting limits. "Our family rule is 2 hours of screen time on school days because we want time for homework, playing outside, and family dinner."
It's not perfect: Determined kids will find workarounds. They'll ask Siri to text instead of using Messages. They'll use the calculator during Downtime. This is normal. Parental controls are a tool, not a replacement for actual parenting.
"My kid keeps asking for more time": You can approve additional time from the Screen Time notification, but be strategic about it. Every time you cave, you're teaching them that limits are negotiable.
"They figured out the passcode": Change it immediately. And maybe don't enter it while they're watching over your shoulder.
"Educational apps are blocked during Downtime": Add them to Always Allowed. But be honest about whether Minecraft actually counts as "educational" for your kid.
"They're using my device instead": Yep. This is why you need to set up Screen Time on ALL devices in your house, including yours. Family Sharing makes this easier.
Setting up parental controls on an iPad takes about 15-20 minutes, and it's genuinely worth it. You're not being overprotective or helicopter-y — you're being intentional about how technology fits into your family's life.
Will your kid complain? Probably. Will they survive? Absolutely.
The goal isn't to eliminate screens (that's unrealistic in 2026). The goal is to create boundaries so screens don't eliminate everything else — outdoor play, face-to-face conversation, boredom (which is actually good for creativity), and sleep.
Start with the settings above, see how it goes for a few weeks, and adjust. Every family is different, and what works for your neighbor's kid might not work for yours.
- Set it up now while you're thinking about it (seriously, it takes 15 minutes)
- Check out our guides on how to set up parental controls on iPhone and parental controls for gaming consoles
- Have a family meeting about screen time expectations and rules
- Monitor the first week closely to see what's actually working
And hey, if you need help figuring out whether specific apps are age-appropriate or how much screen time is actually reasonable for your kid's age, ask our chatbot — that's literally what we're here for.
You've got this.